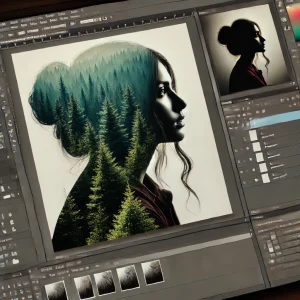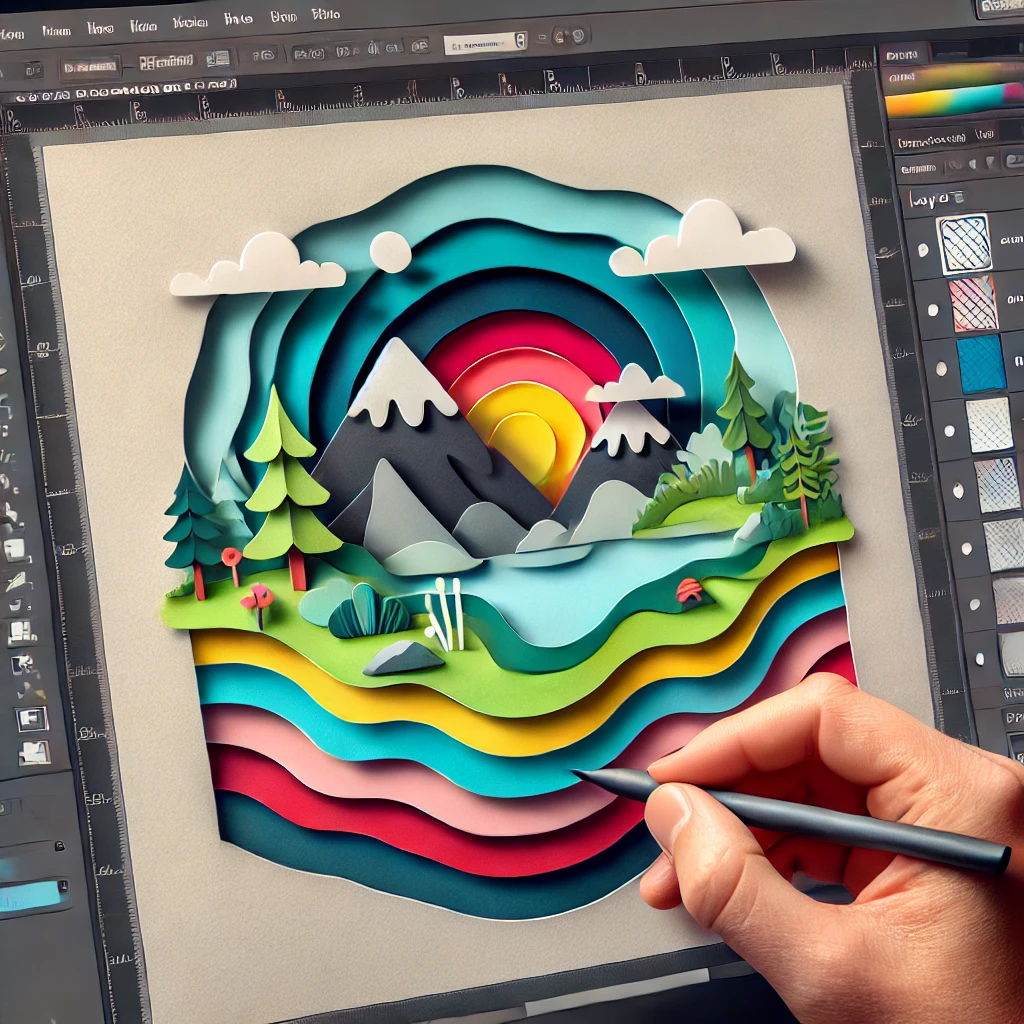
The paper cutout effect mimics layered paper art, creating a handcrafted, 3D look. This playful and artistic design style works well for posters, illustrations, and digital art. Adobe Photoshop makes it easy to achieve this effect using layers, shadows, and textures.
1. Choose or Create a Simple Illustration
Start with a basic design that translates well into layered shapes.
Suggestions:
- Nature scenes (mountains, forests, oceans)
- Abstract geometric designs
- Minimalist illustrations
2. Set Up Your Canvas
Create a new document to build your paper cutout scene.
Recommended Settings:
- Size: 3000×2000 px
- Resolution: 300 DPI for print
- Color Mode: RGB for digital, CMYK for print
3. Draw or Import Shapes
Design or import the shapes that will form your layered cutout.
Tools to Use:
- Pen Tool (P) for custom shapes
- Shape Tool (U) for basic forms
- Layer Masks for editing shapes non-destructively
4. Apply Paper Textures
Add paper textures to give the layers a realistic feel.
How to Apply:
- Import a high-resolution paper texture.
- Set the blending mode to Multiply.
- Clip it to each shape layer using Clipping Mask.
5. Add Drop Shadows for Depth
Create depth by adding shadows between layers.
Steps:
- Double-click the shape layer to open Layer Styles.
- Apply a Drop Shadow with soft edges and low opacity.
- Adjust angle and distance for a natural look.
6. Organize Layers for Realism
Stack layers to mimic the layering of cut paper.
Tips:
- Place background layers at the bottom.
- Overlap shapes slightly for realism.
- Group related elements for easier adjustments.
7. Adjust Colors for Contrast
Use contrasting colors to distinguish the layers.
Tools:
- Hue/Saturation for subtle color shifts
- Gradient Overlays for smooth transitions
8. Create Inner Shadows for Depth
Add inner shadows to enhance the cutout effect.
How to Apply:
- Open Layer Styles.
- Apply an Inner Shadow with low opacity.
- Adjust distance and size to create subtle depth.
9. Add Fine Details
Incorporate small elements to complete the design.
Ideas:
- Paper tears or folds
- Hand-drawn doodles
- Small cutout shapes for texture
10. Final Adjustments and Export
Polish the design and prepare it for sharing.
Final Touches:
- Apply Curves for contrast.
- Add Noise for texture.
- Export as JPEG or PNG.
Conclusion
The paper cutout effect in Photoshop creates charming, layered artwork with depth and texture. By blending shapes, shadows, and textures, you can design unique pieces that mimic handcrafted paper art.