Photo collages are a creative way to showcase multiple images in a single, visually appealing composition. Adobe Photoshop offers versatile tools that allow you to craft professional and stunning photo collages. This step-by-step guide will help you design engaging photo collages with ease.
1. Set Up Your Canvas
Start by creating a new document in Photoshop. Choose a canvas size that suits your collage purpose.
Recommended Sizes:
- Instagram Post: 1080×1080 px
- Poster: 18×24 inches at 300 DPI
- Web Display: 1920×1080 px
Tip: Use high resolution (300 DPI) for print and 72 DPI for digital use.
2. Import and Organize Photos
Drag and drop your images into Photoshop. Each image will appear as a new layer.
Tip: Use Smart Objects to maintain image quality while resizing.
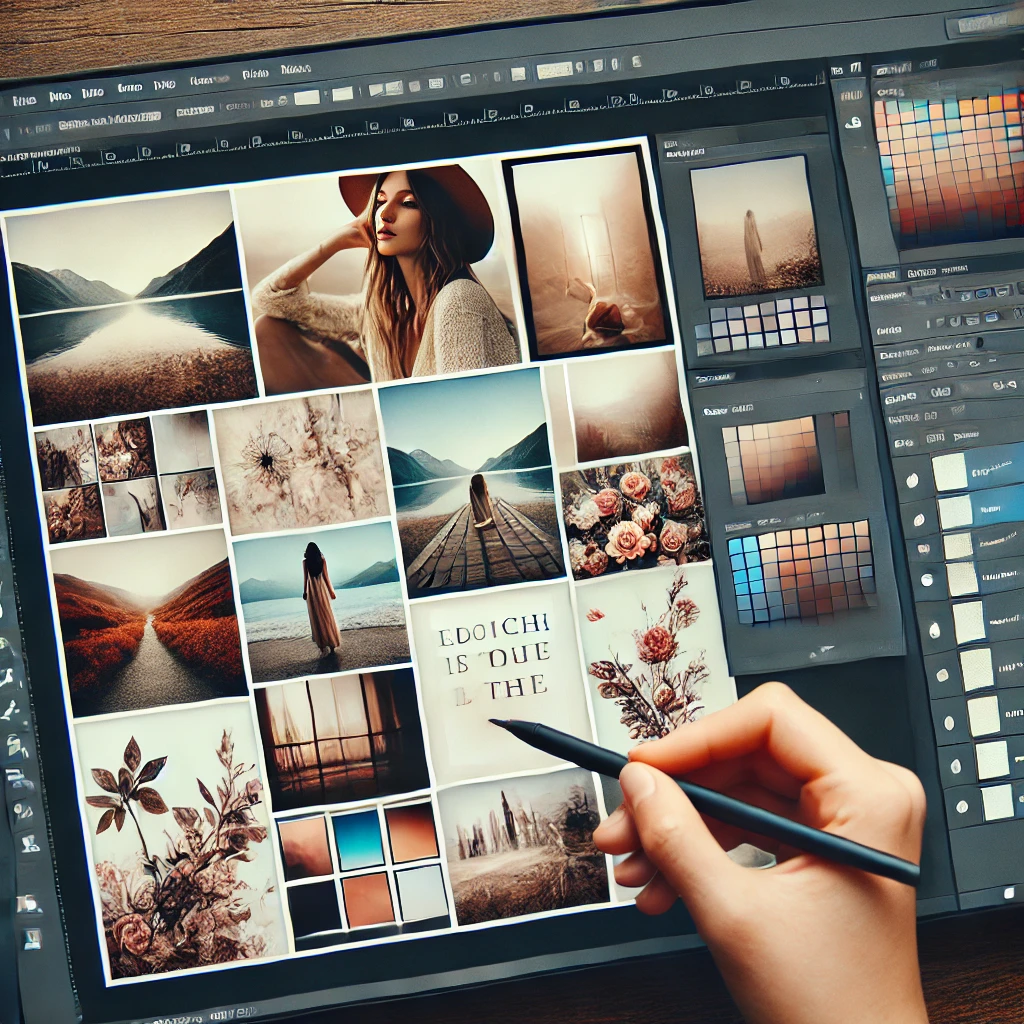
3. Create a Grid or Freeform Layout
Decide on the collage style: grid, mosaic, or freeform.
For Grid Layouts:
- Use Guides (View > New Guide) to align images.
- Apply the Rectangular Marquee Tool (M) for even placement.
For Freeform Layouts:
- Rotate and scale images using Free Transform (Ctrl+T).
- Overlap images for a dynamic effect.
4. Add Borders and Frames
Use Shape Tools (U) or Layer Styles to add borders around images for better separation.
Tip: Apply Drop Shadows for depth.
5. Blend Images Seamlessly
Use Layer Masks to blend photos naturally.
Steps:
- Add a mask to the photo layer.
- Use a soft Brush Tool (B) to paint black on the mask for smooth blending.
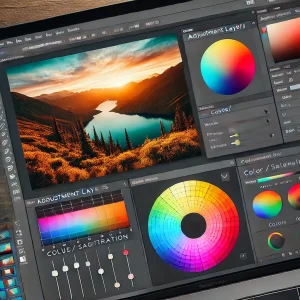
6. Apply Filters and Adjustments
Unify your collage by applying consistent color grading.
Tools:
- Adjustment Layers (Hue/Saturation, Curves)
- Color Lookup Tables (LUTs)
7. Incorporate Text and Graphics
Enhance the collage with meaningful text or decorative graphics.
Tools:
- Text Tool (T) for captions.
- Shape Tool (U) for design accents.
8. Use Clipping Masks for Creative Effects
Clip textures or patterns into photos for artistic flair.
How to Apply:
- Place a texture above the photo layer.
- Right-click and select Create Clipping Mask.
9. Final Touches
Adjust brightness, contrast, and sharpness to polish your collage. Use Gaussian Blur for background images to add focus.
10. Save and Export
Save your collage as a PSD to retain layers and export as JPEG or PNG for sharing.
Tip: Use File > Export > Save for Web (Legacy) for web optimization.
Conclusion
Creating photo collages in Photoshop allows endless possibilities for storytelling and artistic expression. By mastering these techniques, you can design professional, eye-catching collages that captivate your audience.