Color correction is an essential skill for photographers and designers to enhance images and achieve visual harmony. Adobe Photoshop offers powerful tools for precise color adjustments. This guide will teach you how to master color correction techniques for professional results.
1. Understand the Basics of Color Correction
Color correction involves adjusting the colors in an image to make them appear more natural and balanced. It corrects issues like poor lighting, color casts, and over/underexposure.
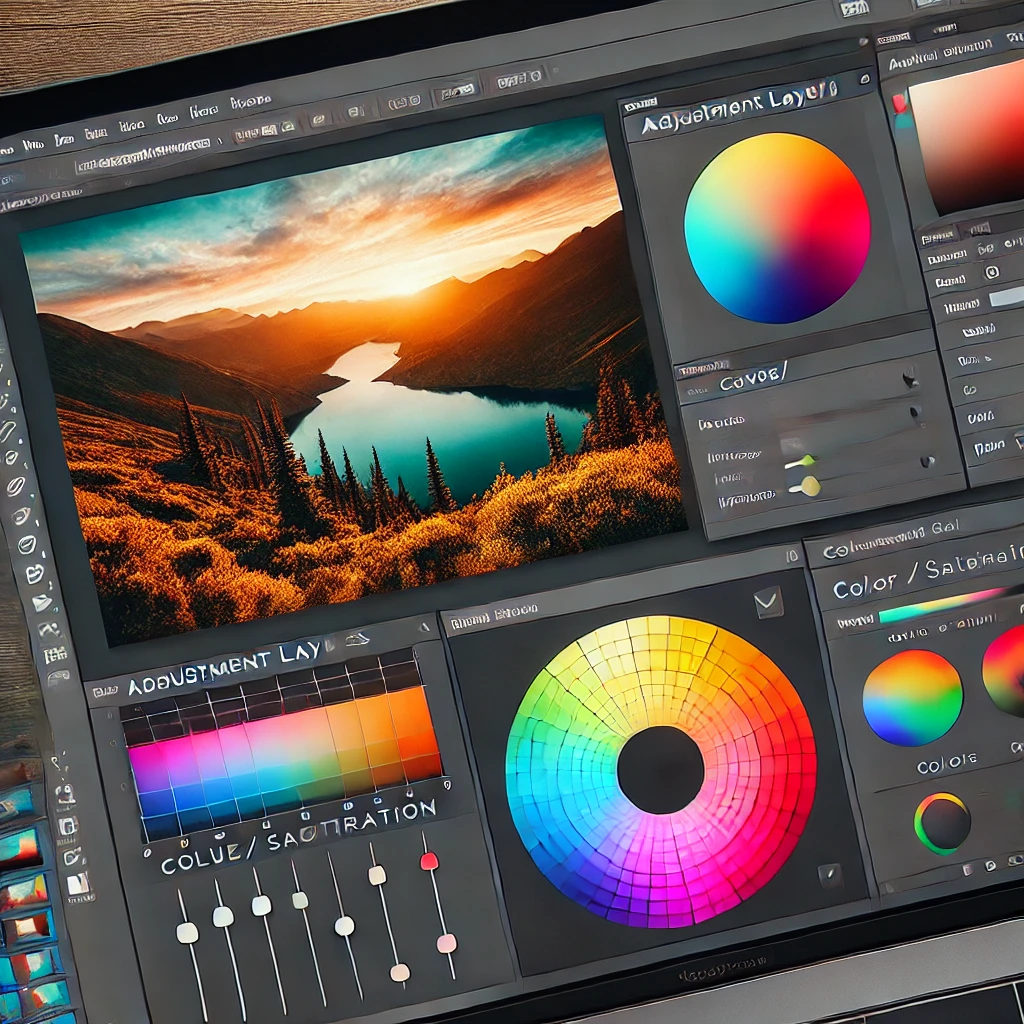
2. Use Adjustment Layers for Non-Destructive Editing
Adjustment layers allow you to modify colors without altering the original image.
Essential Adjustment Layers:
- Levels: Adjusts brightness and contrast.
- Curves: Offers fine-tuned control over shadows, midtones, and highlights.
- Hue/Saturation: Modifies color intensity and tone.
- Color Balance: Adjusts color tones across shadows, midtones, and highlights.
Tip: Stack multiple adjustment layers for complex corrections.
3. Correct White Balance
White balance ensures that whites appear neutral and other colors are accurate.
Steps:
- Use the Camera Raw Filter (Filter > Camera Raw Filter) to adjust temperature and tint.
- Alternatively, use the Curves Tool to balance color channels.
4. Use Curves for Precision Control
The Curves Tool is powerful for controlling brightness and contrast across color channels.
How to Use:
- Open Curves (Ctrl+M).
- Adjust the RGB channel for brightness.
- Modify individual Red, Green, and Blue channels for color balance.
5. Fix Color Casts
Color casts occur when an image has an unwanted tint.
Fix:
- Use Color Balance to neutralize tints.
- Apply Selective Color adjustments to target specific tones.
6. Utilize Selective Color Adjustments
Selective Color allows precise adjustments to specific colors in your image.
Steps:
- Go to Image > Adjustments > Selective Color.
- Adjust Cyan, Magenta, Yellow, and Black sliders for targeted corrections.
7. Apply Gradient Maps for Creative Color Grading
Gradient Maps replace the tones in your image with colors from a gradient.
Use Case:
- Ideal for stylized color grading and mood enhancement.
8. Dodge and Burn for Highlighting and Shadows
The Dodge Tool brightens and the Burn Tool darkens specific areas, adding depth and focus.
Tip: Use on a 50% gray layer set to Overlay for non-destructive editing.
9. Match Colors Across Multiple Images
Ensure consistency when working with multiple images.
Steps:
- Use Image > Adjustments > Match Color.
- Select the source image to transfer color information.
10. Final Touches with Camera Raw Filter
The Camera Raw Filter offers powerful global adjustments.
Features to Explore:
- Exposure and Contrast adjustments.
- Vibrance and Saturation controls for subtle color enhancement.
Conclusion
Mastering color correction in Photoshop enhances your images, making them vibrant and visually appealing. By using adjustment layers, selective color, and advanced tools, you can achieve professional, polished results.