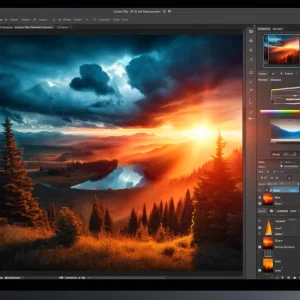
Vintage photo effects add a nostalgic and timeless charm to images. Adobe Photoshop makes it easy to replicate the look of old film photography by applying subtle color shifts, grain, and fading effects. This step-by-step guide will show you how to create a beautiful vintage photo effect.
1. Start with a Well-Exposed Photo
Choose a high-quality image with balanced exposure for the best results.
Tip: Portraits, landscapes, and street photography work well with vintage effects.
2. Add a Gradient Map for Toned Coloring
Apply a soft, muted color scheme to mimic old film tones.
Steps:
- Go to Layer > New Adjustment Layer > Gradient Map.
- Choose a soft gradient with faded browns or warm tones.
- Set the blending mode to Soft Light and lower opacity for subtlety.
3. Reduce Contrast with Curves
Vintage photos often have soft contrast.
How to Apply:
- Add a Curves Adjustment Layer.
- Lift the shadows by dragging the lower-left point upward.
- Lower the highlights slightly for a faded effect.
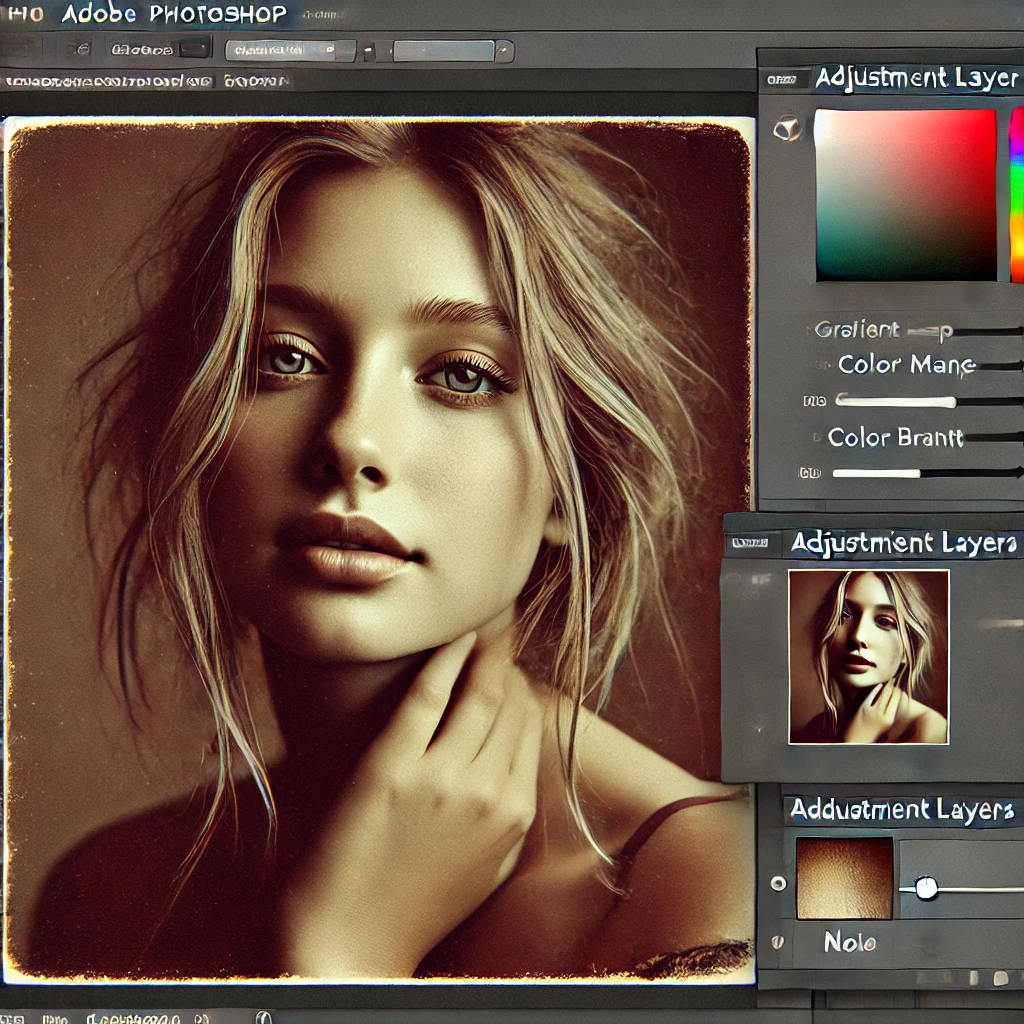
4. Apply a Sepia Tone with Color Balance
Sepia tones give photos a classic, aged appearance.
Steps:
- Add a Color Balance Adjustment Layer.
- Shift the Midtones and Shadows towards Red and Yellow.
5. Add Film Grain for Texture
Introduce grain to emulate old film stock.
How to Apply:
- Create a new layer and fill it with 50% gray.
- Apply Filter > Noise > Add Noise.
- Set the layer to Overlay and reduce opacity.
6. Add a Subtle Vignette
Darken the edges to focus on the center of the image.
Steps:
- Use Camera Raw Filter > Effects > Post-Crop Vignetting.
- Adjust to create a soft vignette.
7. Introduce Light Leaks for Authenticity
Light leaks mimic flaws in old cameras.
How to Apply:
- Create a new layer.
- Use a soft Brush Tool (B) with red, orange, or yellow.
- Set the layer to Screen or Overlay and adjust opacity.
8. Fade Colors with Hue/Saturation
Softening colors enhances the vintage look.
Steps:
- Add a Hue/Saturation Adjustment Layer.
- Lower the Saturation slightly.
- Adjust the Lightness for a softer feel.
9. Apply a Blur for a Soft Focus
Older lenses often created a softer image.
How to Apply:
- Duplicate the photo layer.
- Apply Gaussian Blur with a low radius.
- Set the layer to Soft Light and lower the opacity.
10. Final Adjustments and Export
Make final tweaks to color and contrast.
Tools:
- Brightness/Contrast for finishing touches.
- Levels to balance highlights and shadows.
- Export as JPEG or PNG for sharing.
Conclusion
Creating a vintage photo effect in Photoshop adds a nostalgic charm to your images. By combining color adjustments, grain, and vignettes, you can craft timeless photos that evoke the past.