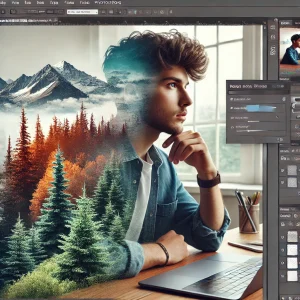
Cinematic color grading gives photos a dramatic and film-like appearance, enhancing mood and storytelling. Adobe Photoshop offers powerful tools to achieve this effect through color adjustments and creative blending. This guide will walk you through step-by-step techniques for cinematic color grading.
1. Start with a Balanced Base Image
Ensure your image is well-exposed and color-corrected before applying any color grading.
Steps:
- Use Camera Raw Filter for exposure and contrast adjustments.
- Correct white balance with the Temperature and Tint sliders.
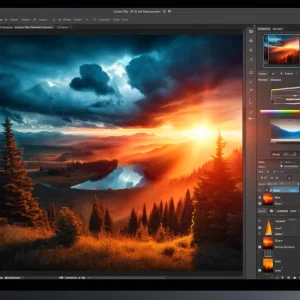
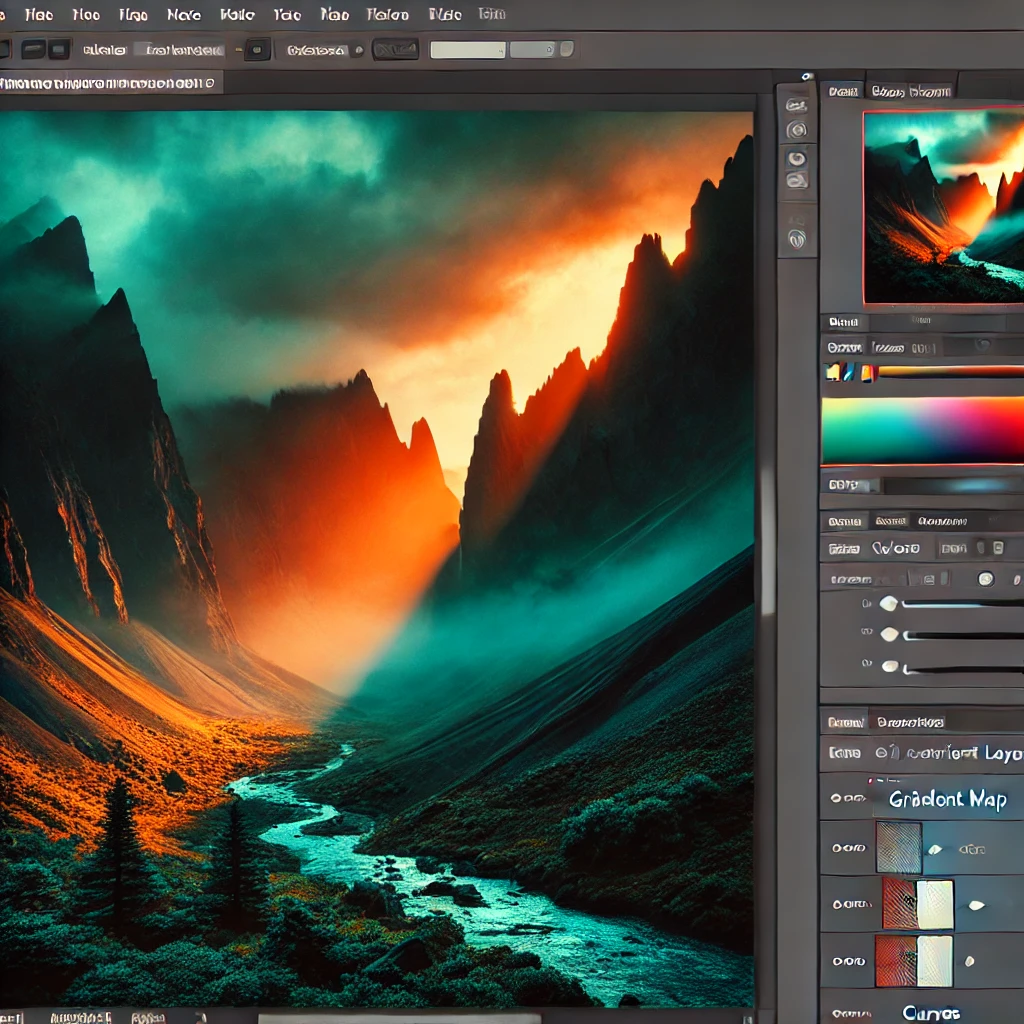
2. Add a Gradient Map for Tone Control
Gradient maps are essential for adding cinematic tones.
How to Apply:
- Go to Layer > New Adjustment Layer > Gradient Map.
- Choose a gradient that fits the mood (e.g., teal and orange for action, warm tones for drama).
- Set the blending mode to Soft Light or Overlay and adjust the opacity.
3. Use Selective Color for Fine-Tuning
Selective Color allows you to adjust specific color ranges.
Steps:
- Add a Selective Color Adjustment Layer.
- Target Blacks and Neutrals to refine shadows and midtones.
- Adjust Reds and Yellows for skin tones.
4. Apply Color Lookup Tables (LUTs)
LUTs are a quick way to apply complex color grading.
How to Apply:
- Go to Layer > New Adjustment Layer > Color Lookup.
- Choose from built-in LUTs like TealOrangePlusContrast or import custom LUTs.
5. Adjust Contrast with Curves
The Curves Adjustment Layer is excellent for adding depth.
Steps:
- Create an “S” curve to deepen shadows and lift highlights.
- Adjust the Red, Green, and Blue channels individually for color shifts.
6. Add Vignetting for Focus
Vignetting draws attention to the subject by darkening the edges.
How to Apply:
- Use Camera Raw Filter > Effects > Post-Crop Vignetting.
- Adjust the slider for subtle darkening.
7. Use Gradient Overlays for Light Effects
Add gradient overlays to mimic lighting effects.
Steps:
- Create a new layer and fill it with a radial gradient.
- Set the layer to Soft Light or Overlay.
- Adjust opacity for subtle lighting.
8. Add Film Grain for Authenticity
Film grain adds a cinematic texture to photos.
How to Apply:
- Create a new layer filled with 50% gray.
- Apply Filter > Noise > Add Noise.
- Set the layer to Overlay and adjust opacity.
9. Apply Split Toning
Split toning enhances mood by adding different colors to highlights and shadows.
Steps:
- Use Camera Raw Filter > Split Toning.
- Apply cool tones to shadows and warm tones to highlights.
10. Final Color Adjustments
Fine-tune the overall look with final adjustments.
Tools to Use:
- Hue/Saturation for minor tweaks.
- Color Balance for overall mood.
- Brightness/Contrast for final balance.
Conclusion
Cinematic color grading in Photoshop transforms ordinary photos into visually striking images. By combining gradient maps, LUTs, and color adjustments, you can create photos that feel like they belong on the big screen.