High Dynamic Range (HDR) effects enhance the details in shadows and highlights, resulting in vibrant, dramatic photos. Adobe Photoshop provides powerful tools to simulate HDR effects, giving your images depth and texture. This guide walks you through creating HDR effects step-by-step.
1. Start with a High-Quality Image
Begin with a high-resolution image to retain detail during editing.
Tips:
- Use RAW files for maximum flexibility.
- Choose images with contrasting light and dark areas.
2. Duplicate the Background Layer
Non-destructive editing allows you to preserve the original image.
Steps:
- Duplicate the background layer (Ctrl+J).
- Convert the duplicate to a Smart Object for flexible adjustments.
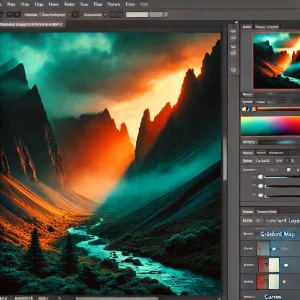
3. Apply the Camera Raw Filter
Enhance overall exposure and tone.
How to Apply:
- Go to Filter > Camera Raw Filter.
- Increase Clarity and Texture to bring out details.
- Adjust Shadows and Highlights for balanced exposure.
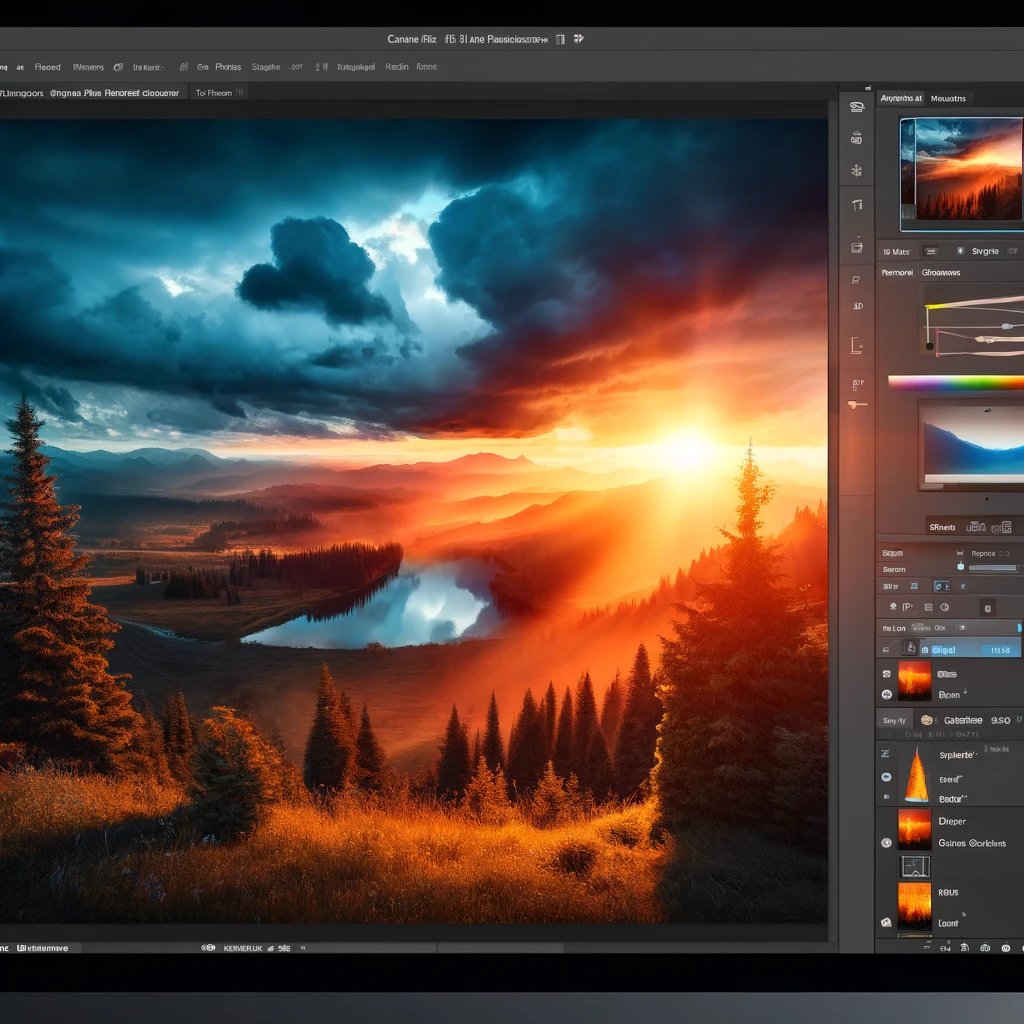
4. Use the HDR Toning Filter
Photoshop’s built-in HDR Toning filter simulates HDR effects.
Steps:
- Go to Image > Adjustments > HDR Toning.
- Adjust the Detail, Gamma, and Exposure sliders.
- Set Edge Glow to control highlights and shadows.
5. Blend Multiple Exposures (Advanced)
For authentic HDR, blend multiple exposures.
How to Apply:
- Go to File > Automate > Merge to HDR Pro.
- Import images with varying exposures.
- Adjust the tone mapping settings for balance.
6. Enhance Details with High Pass Filter
Sharpen textures and emphasize details.
Steps:
- Duplicate the image layer.
- Apply Filter > Other > High Pass.
- Set the blending mode to Overlay.
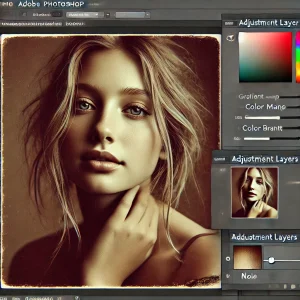
7. Use Dodge and Burn for Depth
Highlight and darken specific areas for more depth.
How to Apply:
- Create two Curves Adjustment Layers for Dodge (brighten) and Burn (darken).
- Paint on the masks with a soft Brush Tool (B).
8. Boost Colors with Vibrance and Saturation
Make colors pop while preserving skin tones.
Steps:
- Add a Vibrance Adjustment Layer.
- Increase Vibrance for muted tones.
- Slightly adjust Saturation.
9. Add Vignette for Focus
Direct the viewer’s attention to the subject.
How to Apply:
- Use Camera Raw Filter > Effects > Post-Crop Vignetting.
- Apply a soft vignette for subtle focus.
10. Final Touches and Export
Complete the HDR look with fine adjustments.
Tools to Use:
- Curves for contrast.
- Color Balance for tone matching.
- Export as JPEG or TIFF for high quality.
Conclusion
Creating HDR effects in Photoshop brings life to your images with stunning detail and vibrant colors. By mastering these techniques, you can transform ordinary photos into dynamic works of art.