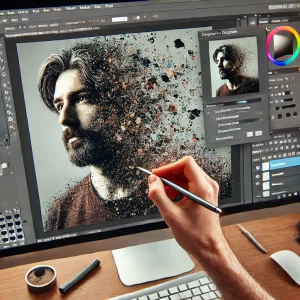
![]() The glitch effect adds a modern, futuristic, and digital distortion look to images, making them stand out with a creative, edgy vibe. Adobe Photoshop provides various tools to craft glitch effects by manipulating layers, channels, and colors. This guide will walk you through creating this dynamic effect.
The glitch effect adds a modern, futuristic, and digital distortion look to images, making them stand out with a creative, edgy vibe. Adobe Photoshop provides various tools to craft glitch effects by manipulating layers, channels, and colors. This guide will walk you through creating this dynamic effect.
1. Start with a High-Quality Image
Select a clear, high-resolution image for the best distortion effect.
Tip: Portraits and urban photos work well for glitch effects.
2. Duplicate the Image Layer
Create multiple copies for color channel manipulation.
Steps:
- Duplicate the background layer (Ctrl+J) twice.
- Name the layers Red, Green, and Blue.
3. Isolate Color Channels
Separate the RGB channels for the glitch effect.
How to Apply:
- Double-click the Red layer and uncheck G and B channels.
- Do the same for the Green and Blue layers, leaving one channel checked on each.
- Offset each layer using the Move Tool (V) to create color separation.
4. Apply the Wave Filter
Add digital distortion with the Wave filter.
Steps:
- Select the top layer.
- Go to Filter > Distort > Wave.
- Adjust the number of generators, amplitude, and wavelength for a glitchy look.
5. Use the Rectangular Marquee Tool for Displacement
Slice and shift parts of the image for a pixelated effect.
How to Apply:
- Select the Rectangular Marquee Tool (M).
- Drag across parts of the image and use the Move Tool (V) to shift the selection horizontally.
- Repeat with various sizes for random distortion.
6. Add Scan Lines for Texture
Mimic screen interference with scan lines.
Steps:
- Create a new layer and fill it with black.
- Apply Filter > Noise > Add Noise and Filter > Blur > Motion Blur (Angle: 90°, Distance: 15px).
- Set the layer to Soft Light and lower opacity.
7. Use the Displace Filter for Digital Shifts
Create advanced distortions with displacement maps.
How to Apply:
- Create a grayscale texture and save it as a PSD.
- Go to Filter > Distort > Displace and load the texture.
- Adjust the scale to control distortion.
8. Add Noise for Extra Grit
Enhance the glitch with noise and texture.
Steps:
- Add a Noise Adjustment Layer.
- Increase the amount to add grit.
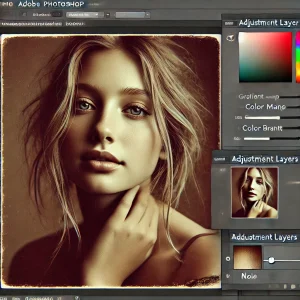
9. Blend with Color Overlays
Use gradient maps and overlays for color contrast.
How to Apply:
- Add a Gradient Map Adjustment Layer.
- Choose vibrant or neon colors to amplify the glitch effect.
- Set blending mode to Overlay or Color.
10. Final Adjustments and Export
Polish and export the design.
Tools:
- Adjust Brightness/Contrast for better definition.
- Apply Hue/Saturation for color tweaks.
- Export as JPEG or PNG.
Conclusion
The glitch effect in Photoshop combines color distortion, displacement, and texture to create an edgy, digital aesthetic. By experimenting with layers and filters, you can design stunning glitch art that captures attention.