Removing backgrounds from images is a fundamental photo editing skill. Adobe Photoshop offers several powerful tools to isolate subjects and create clean, professional cutouts. This guide covers multiple methods to remove backgrounds effectively.
1. Use the Remove Background Button (Quick Method)
Photoshop provides a one-click solution for removing backgrounds.
How to Use:
- Open your image.
- Go to the Layers Panel, select the layer, and click Remove Background under Properties.
Best For: Simple images with clear subject-background separation.
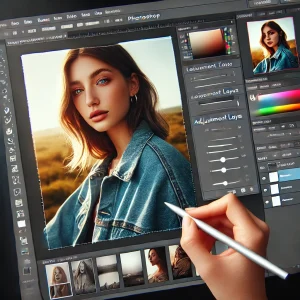
2. Select Subject and Layer Mask (Manual Refinement)
For more control, use the Select Subject feature followed by layer masking.
Steps:
- Go to Select > Subject.
- Click Add Layer Mask to remove the background.
- Refine edges with the Brush Tool (B) or Select and Mask.
Best For: Portraits or products with simple backgrounds.
3. Pen Tool for Precision Cutouts
The Pen Tool (P) provides precise selections for complex subjects.
Steps:
- Select the Pen Tool (P).
- Create a path around the subject.
- Right-click and choose Make Selection.
- Add a layer mask to remove the background.
Best For: Sharp-edged objects like logos, products, and architecture.
4. Quick Selection Tool for Detailed Areas
The Quick Selection Tool (W) allows for fast selections.
Steps:
- Select the Quick Selection Tool (W).
- Drag over the subject to select.
- Use Select and Mask for edge refinement.
Best For: Subjects with clear edges but complex backgrounds.
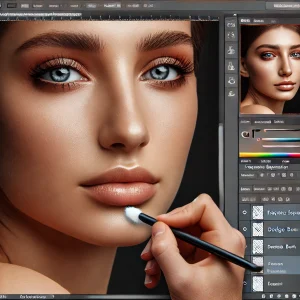
5. Background Eraser Tool for Hair and Fur
The Background Eraser Tool (E) is effective for tricky areas like hair and fur.
How to Use:
- Select the Background Eraser Tool (E).
- Adjust the Sampling option to Continuous.
- Carefully erase around the subject.
Best For: Detailed edges like hair, feathers, and fur.
6. Use Channels for High-Contrast Subjects
Channels can help isolate subjects with high contrast.
Steps:
- Go to the Channels panel.
- Duplicate the channel with the most contrast.
- Apply Levels (Ctrl+L) to increase contrast.
- Load the selection and apply a mask.
Best For: Subjects with high contrast against the background.
7. Refine Edges for a Natural Look
No matter the method, refining the edges ensures a natural cutout.
Tips:
- Use Select and Mask for smooth transitions.
- Feather the mask slightly for blending.
- Use the Brush Tool (B) on the mask for final touch-ups.
8. Replace Backgrounds with New Scenes
After removing the background, insert a new background for creative designs.
Steps:
- Drag and drop a new background below the subject layer.
- Adjust lighting and color to match the subject.
9. Add Shadows for Realism
Create natural shadows to blend the subject with the new background.
How to Apply:
- Duplicate the subject layer.
- Fill it with black and apply Gaussian Blur.
- Lower opacity and position it as a shadow.
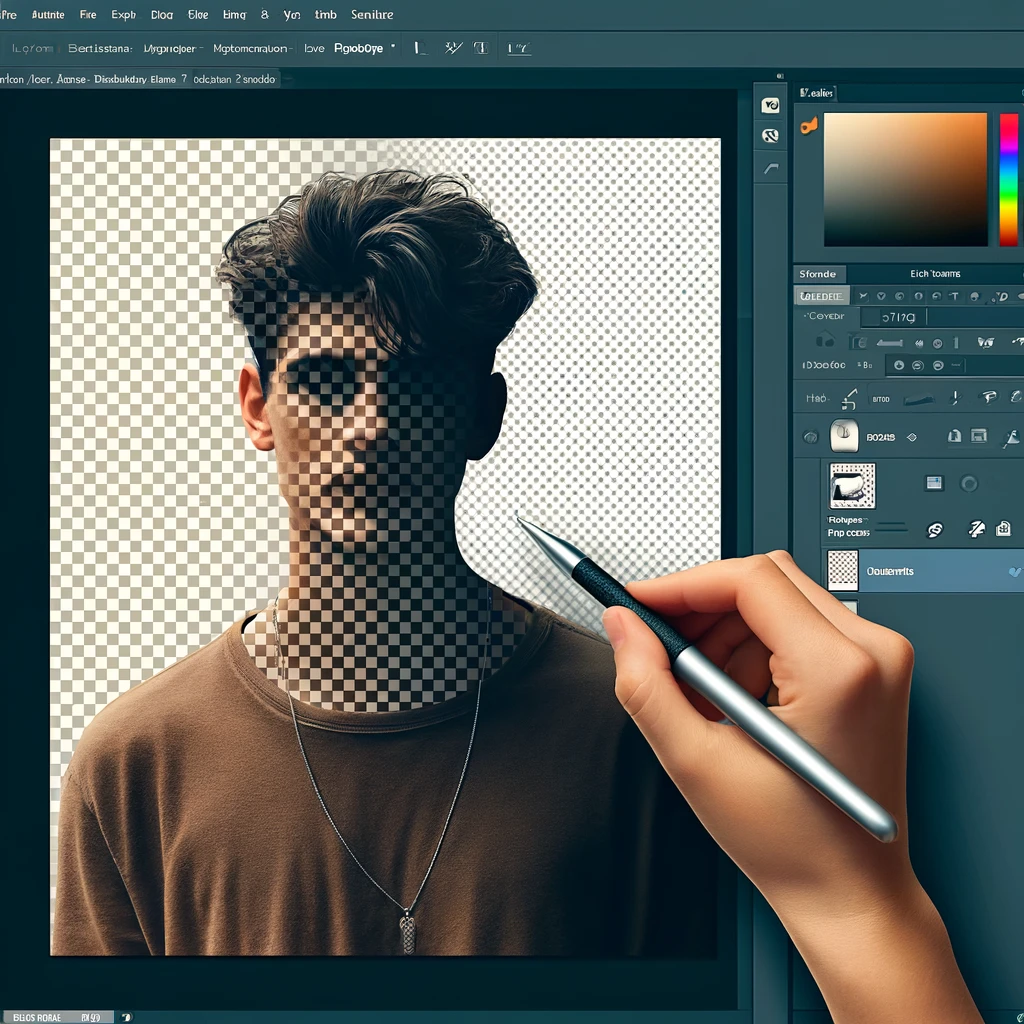
10. Export with Transparency
Export images with a transparent background for versatile use.
How to Export:
- Save as PNG for web use.
- Use TIFF for high-resolution needs.
Conclusion
Mastering background removal in Photoshop opens creative possibilities for design, marketing, and photography. By using these methods, you can create professional cutouts for any project.